No Products in the Cart
You’ve probably seen many chunky knit blankets parading the internet lately. Don’t they look so beautiful and cozy? Fortunately, you can easily make one from the comfort of your home.
Since we love these blankets just as much as you do, we’ve decided to help you out. Today we’re going to learn how to make a DIY chunky knit blanket. This is way more fun than simply buying one. Get ready to have your mind blown.
In this information age, there’re so many tutorials out there on how to knit a chunky blanket. Here’s a step by step guide to making your very own DIY chunky blanket in a super-easy way.
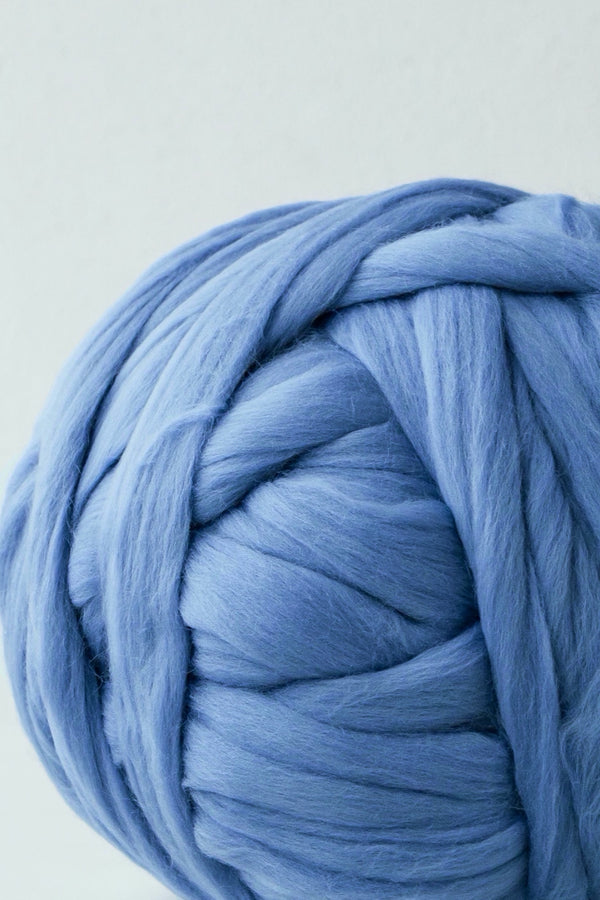
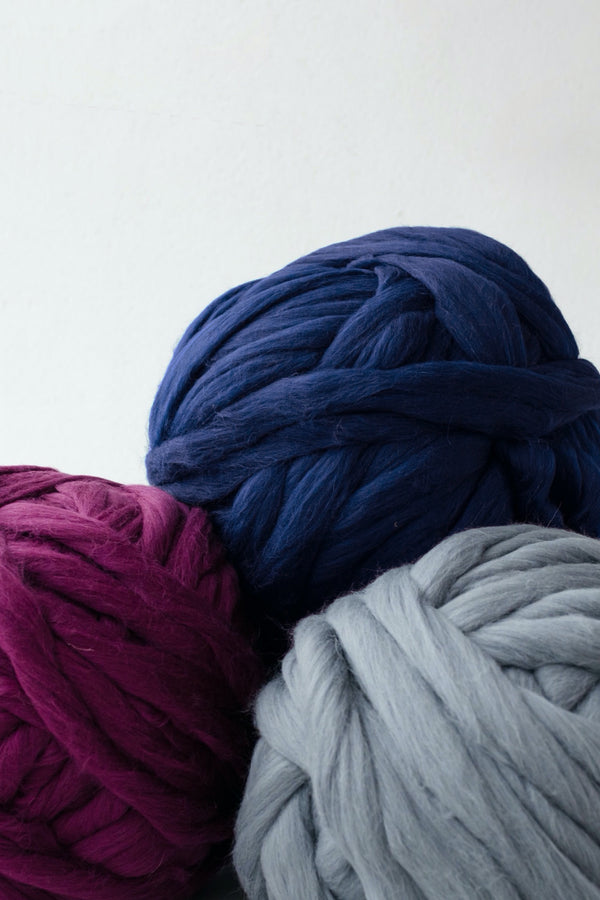
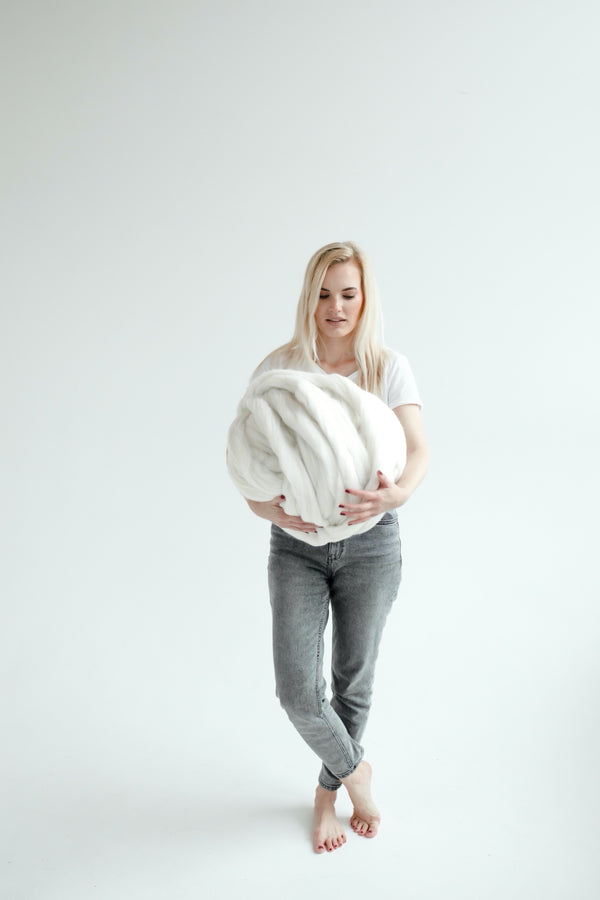
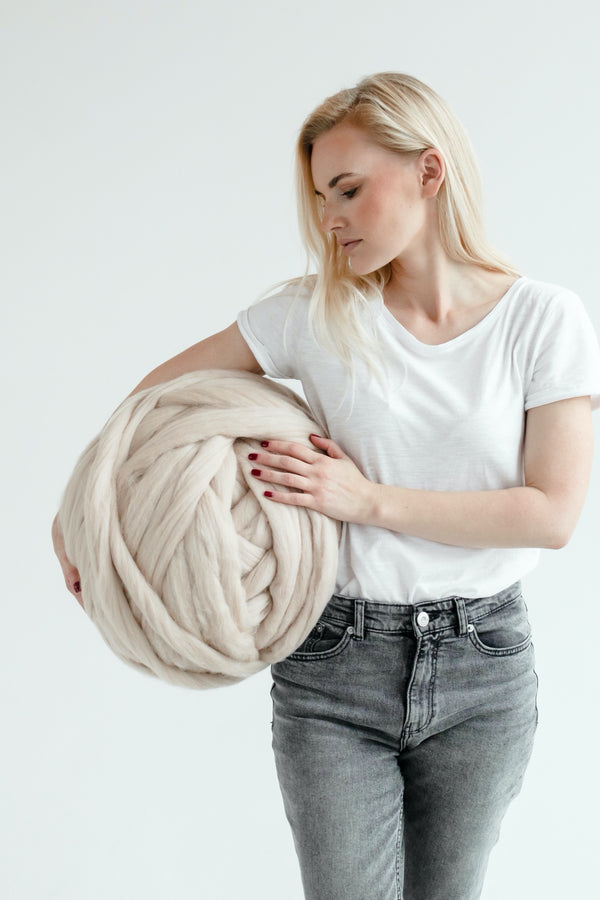
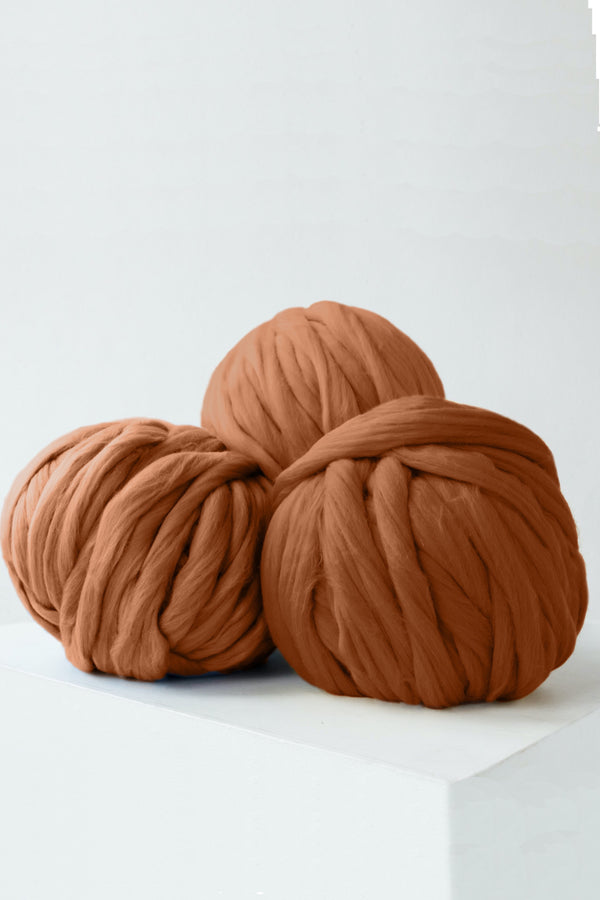
One of the most important things for making the DIY chunky knit blanket is to have a good quality chunky yarn.
Purchase the chunky knit yarn in our shop. We sell high-quality extra-fine merino wool. Our yarn is super thick, chunky and perfect for knitting DIY chunky blankets. Read more about why choose our wool over the others in our blog post "Why choose Wool Art products".
You may also probably wonder about how much wool you need for a chunky blanket. To make it easier for you, we have created an easy cheat-sheet, that you can find in this post.
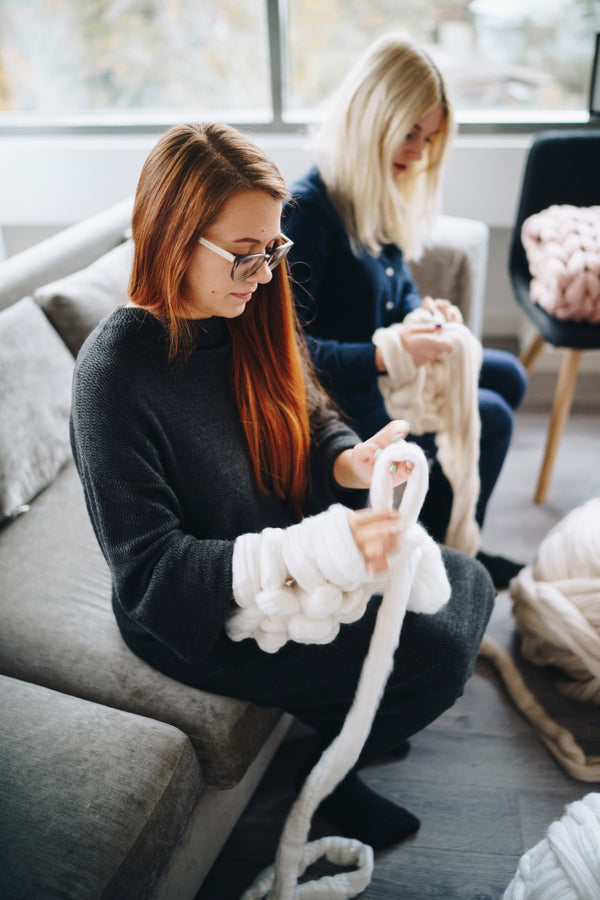
After unwrapping your yarn, so now it's now time to make your first stitch. First of all, you should know that most DIY chunky knit blankets are made by arm knitting. If you've never done arm knitting before, don't worry, that's what this guide is for.
To start with your first stitches, you'll only need your arms, chunky yarn and a bit of patience.
Unroll the yarn on the floor so you have a pile of wool in front of you. This will ensure that the thread pulls easily and you'll have more focus on the knitting process itself.
![]()
Unlike the standard knitting, where you have to cast on the stitches for the starting row, we'll give you an ingenious tip, that will give your blanket shape and make it look much neater. Instead of casting on the stitches, start crocheting the simplest crochet chain.
![]()
![]()
![]()
![]()
![]()
![]()
![]()
![]()
![]()
![]()
The length of the crocheted chain will be the width of your blanket. The last loop of the unfinished chain will be your first right side stitch. After you have crocheted the needed length chain, you can now knit the actual stitches that will form the blanket.
![]()
Tip! Crochet the chain more freely than too tight. If it's too tight, then the specific part of the blanket will tighten too much and will contrast the rest sides of the blanket. If you make the crochet chain too loose, you can always tighten it with the loose end.
Turn the crocheted chain to the side where you can easily see small loops in the middle part of the chain - they will become the other stitches. Leave the side stitch/last chain loop on its own for now and start pulling the long thread to the left side through each one of the chain loops forming a row of separate stitches.
![]()
![]()
![]()
![]()
![]()
![]()
After ending your first stitches row, you should easily get an idea of how it works.
After you have your first row done, without turning your knitting, start coming back - from the left side to the right side, pulling the long thread through each one of the first row stitches.
![]()
![]()
Tip! Remember that the side stitches need to be knitted only one time per row. End the row with knitting the last stitch and start the row with knitting the second stitch.
![]()
Repeat making the stitches row by row, creating the length of the blanket. Count the stitches for every row as you knit, it'll help you to stay focused and not miss a stitch.
Time to time check if your stitches are the same size. If they're not - don't worry, because the practice will make it perfect soon.
![]()
Tip! To make the knitting even, use your hand as a measuring tool - pull each one stitch on your hand, so the stitches are all the same size.
Now that your blanket is done, what's next? To finish off, you'll need to bind off your chunky blanket. For the beginners, we suggest binding off from the right side, as it's easier. Make the last row by knitting the stitches from left to right and you can start to bind off. Do you remember the tip about not knitting the side stitches twice? Now you can and should do it. Knit an extra right-side stitch for the last row - it'll form a shape to the blanket corner.
![]()
Now take the working yarn and pull it through two right-side stitches at a time. This should leave you with one stitch on hand only. Leave that one stitch in hand, take the next one free stitch and put it on hand so you again have two stitches. Pull the working yarn through both stitches so you again are left with one stitch only. Repeat this process until all the stitches are finished and you're left with one stitch on your hand.
![]()
![]()
![]()
![]()
![]()
![]()
![]()
![]()
![]()
Cut the thread so you have around 8 inches of tail. Insert the tail inside the stitch and pull it tightly.
![]()
![]()
Tip! Don't pull the working yarn through the stitches too tight nor too loose - try to pull it through naturally so the top of the blanket is well-shaped.
As much as it's okay to leave the tail ends of your blanket hanging, you can choose to weave them through the holes of the chunky blanket. This gives your blanket a neater finish.
While weaving the top tail, try to stick more to the top of the blanket - it'll make the thread more unnoticeable. Do the same also with the first row's tail, which was left when you started to knit the blanket - try to stick and weave the tail more to the first row's bottom.
Now take the blanket in your both hands and shake it well. It'll even the stitches and the rows, and will give the finishing shape.
![]()
And there, you've your very own DIY chunky knit blanket!
The life-changing bonus tip! What can be more annoying than to run out of yarn before finishing the blanket? Don't worry! Instead of making huge knots in the middle of your blanket, you can just felt the two ends of the yarn threads together. You can find the felting needles in your nearest hobby shop.
Now that you've learned this super chunky knit blanket pattern, there are some tips you need to know to ensure the quality of your product.
I know some tutorials promise you that you'll be able to make a DIY chunky knit blanket in less than an hour. However, for most people, especially beginners, it takes longer. It took happyhappy nester five hours the first she attempted to knit a chunky blanket.
Don't worry. You'll get faster with time. I recommend looking for a friend to pursue this project with you. Making a whole event of it will make it so much fun that you won't even notice the amount of time which has passed.
This is quite obvious. Your sleeves will interfere with the knitting process and ultimately make you slower.
During the knitting process, you should occasionally tug at the blanket to ensure it doesn't bunch up. You will also need to tug and stretch the final product.
If you feel exhausted, you can stop and take a break from knitting. Yes, you don't have to do it all in one go. After a relaxing break with a coffee cup or tea mug in your hands, you'll feel full of energy and ready to knit again.
![]()
SALE ON ALL CHUNKY YARNS
SAVE up to 40% GET YOUR DEAL HERE
Hand knitting is not the only way to make a chunky blanket. Here are other methods you can employ.
This method involves knitting with giant knitting needles. These needles are usually made of wood. There are two types of giant needles. One type is the one where two needles are long and separated from each other. This type of needles is suitable for knitting smaller items like scarves, hats, sweaters or pet rugs. mia beach has some cute jumbo giant knitting needles for this purpose.
The other type of needles are a bit shorter and they're connected with a long wire. These needles are suitable for knitting the chunky blankets. The long wire between the needles holds the blanket together and the stitches stay in the place.
Although the needles look quite cool and quirky, you may discover that knitting with your hands only is the easiest option.
Another way how to knit the blanket is for your arms to perform the function of the knitting needles. So instead of putting the stitches on the needles, you put all the stitches on your hand one by one.![]()
Interestingly, knitting is not the only way to make a chunky blanket. Crocheting is another way. The super-chunky crotchet blanket can be made by using your hand/arm or using large crochet hooks.
A tutorial for making your very own chunky crochet blanket is available from Makeit & Love it. Whether you choose to knit or crochet your blanket, the results are similar since they are made from the same material. The only difference is the technique.
While some swear that crocheting is faster and easier to learn, long-time knitters vehemently disagree. However, there are a few true things. First of all, crocheting produces a heavier, more stretchy blanket than knitting.
Additionally, crocheting takes more yarn than knitting. Ultimately, whatever method you choose is up to you.
Merino wool is a delicate material, so only dry cleaning is recommended. However it's also heat-resistant, so you can iron it at a high temperature if needed.
As merino wool is naturally antibacterial, there's usually no need for extra cleaning. If something spills on the blanket, you can gently remove the dirt with your hands or use a damp cloth.
Let's be honest - it takes some time for beginners to get the hang of knitting. This is especially true for arm knitting. However, when you have the right material and get used to the arm knitting, you'll realise that knitting is a very rewarding craft.
This DIY chunky knit blanket will be just a beginning of your knitting journey. It'll be fun to make the chunky knits for yourself and it'll be even a bigger joy to delight your friends and family with wonderful chunky knit gifts.
SALE ON ALL CHUNKY YARNS
SAVE up to 40% GET YOUR DEAL HERE
Needles for chunky knitting and why you don't need them
How much yarn do you need for chunky blanket
DIY chunky blanket - step by step guide with video tutorial